» Available only in Dotypos FULL and higher. « |
|---|
 WooCommerce is one of the most used add-ons to create your own e-shop on the Wordpress platform. If you have a brick-and-mortar store on this platform, this add-on will come in handy. You simply install the add-on into Wordpress and set it up. The add-on will then ensure two-way synchronization of categories, products and inventory between Dotypos and the WooCommerce e-shop.
|
This option is available only if the cash register connected to the cloud has the location set to Czechia. |

|
The Dotypos plugin for WooCommerce is not fully bound to the Dotypos license. However, in the case of Dotypos EASY, it is not possible to synchronize stock movements as this version of Dotypos does not include stock management. |

How to get the Dotypos add-on for WooCommerce?
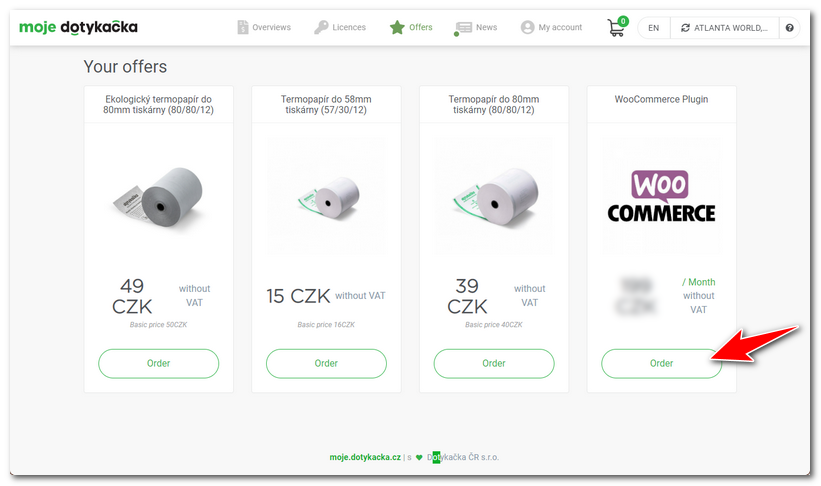
You can purchase the supplement through the My Dotypos customer portal. So log in to this portal, go to the Offers (Nabídky) tab and order the add-on there (Objednat). After payment, you can download the add-on as a .zip archive. You will receive the download link and license key in an email after purchase. We recommend that you save this message safely. You may need the license key later if you want to change the Dotypos Cloud connected to the add-on, for example. Do not unzip the add-on file, just save it to your computer.
You can pay a standard monthly fee for using the add-on or choose the number of months to subscribe. Then the next invoice will come after the selected number of months.
How to install the add-on?
Log in to the Wordpress where you use WooCommerce. Go to the Plugins » Plugin Installation page, click on the Upload Plugin button in the header and select the saved .zip file with the plugin. Once the plugin (add-on) is uploaded, activate it and turn on automatic updates.
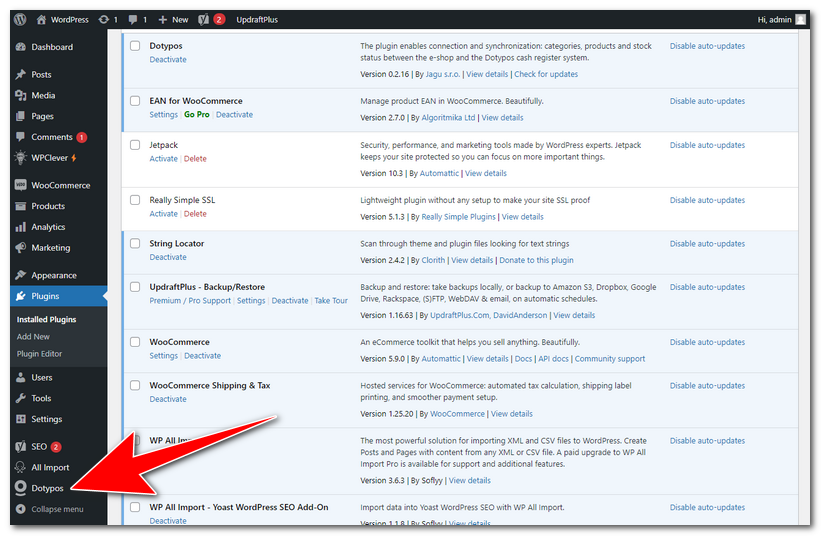
You can access the plugin settings directly from the left tab bar in WordPress. Here, the add-on is labeled as Dotypos. Click on it.
How do I activate the add-on and link it to Dotypos?
|
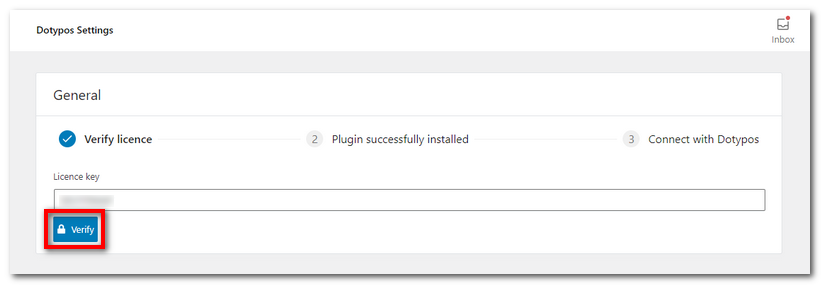
The add-on must now be activated with a license key. You will receive it in your email inbox after purchase. Enter the license key in the License key field in the add-on settings and verify it. The license key is always valid for one installation of the add-on on one domain. If you use WooCommerce on multiple domains, you must purchase a license key (i.e. add-on) for each domain. In case you need to transfer the add-on to another domain, please contact us. |

|
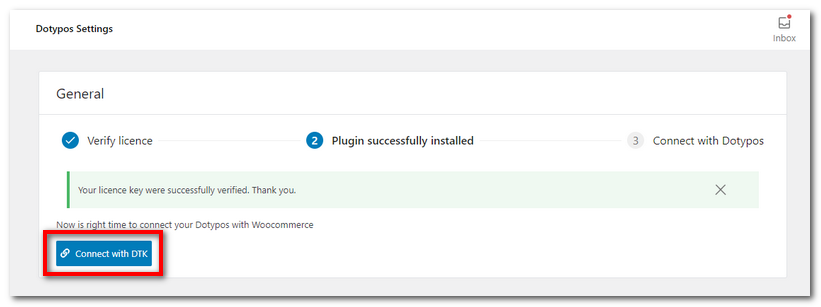
Once the license key has been successfully verified, the add-on can be linked to the cash register. Continue with the Connect with DTK button. |

|
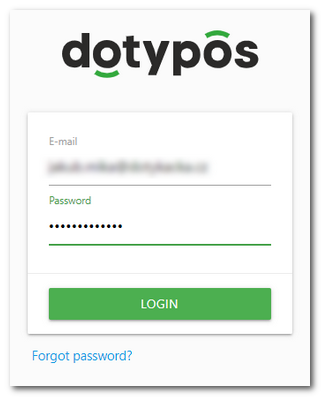
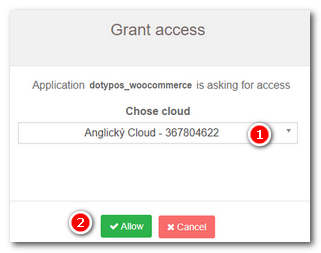
A new window opens with a login dialog to Dotypos Cloud. Log in and select the cloud |

 , with which to pair the add-on. Confirm the selection with the Allow
 button. The successful connection will be confirmed, then close the window with the button.
 |
 |
You have successfully activated the add-on and connected with the Dotypos. Now continue with the next section, which describes the synchronization settings between the two systems.