Activation of a new customer
|
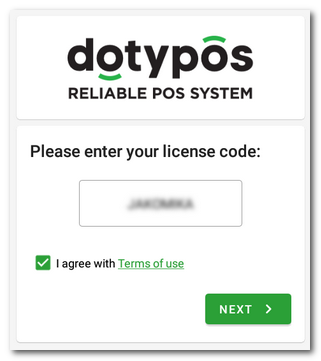
Into the displayed dialog, enter the license code (use only capital letters) and consent to the Terms of use, continue by clicking on the button NEXT. If you want to activate the trial version, take a look at this chapter. |
|
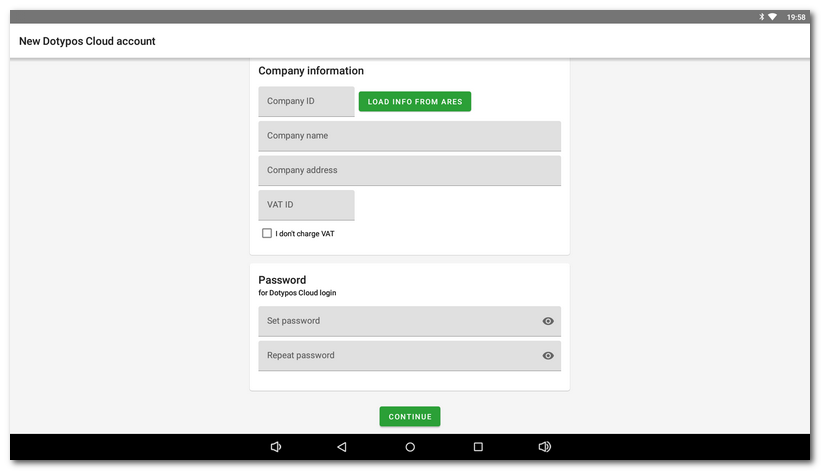
The second step is to fill out the contact information for the license registration. This contact and identification information will also be used in invoices. Information about your company can easily be added by using the entered ID and clicking on LOAD INFO FROM ARES. The email address and password will be used to log into the Dotypos Cloud. After filling out all the relevant pieces of information click on Continue. |

|
The email you enter in the activation wizard will be used for logging into Dotypos Cloud and also as the contact and invoice email address. Also, eventual notifications about invoicing will be sent to this email. So be careful to enter the correct email address! |
|
If the entered email address corresponds to an already created account in Dotypos Cloud, you will be automatically asked to log into this account. This option is described in detail in this chapter.  |
|
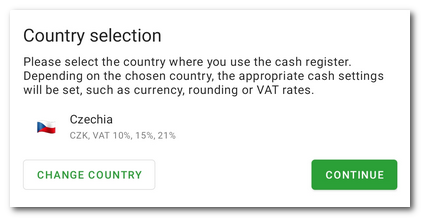
A recap of the Dotypos settings used will be displayed. You can change this if necessary by tapping the green text link If everything is OK, continue by tapping the CONTINUE button. |
 . For example, if you have selected
  button to select the business type and the type of business again. The section
  will then show the basic cash register settings according to the country selected in the
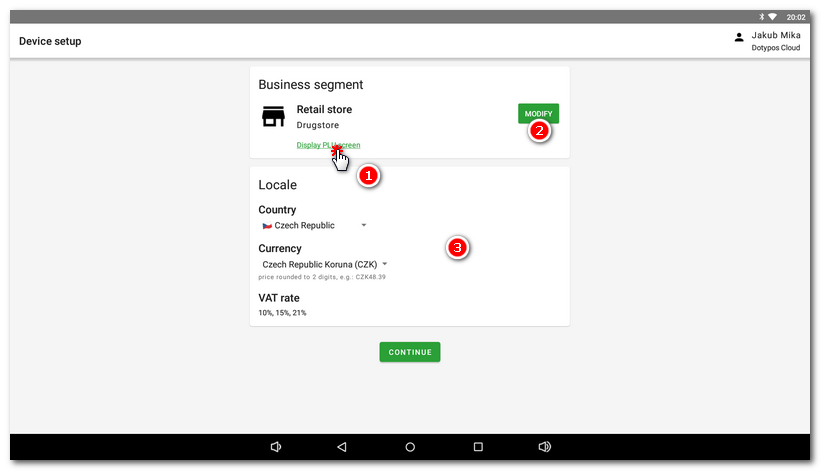
|
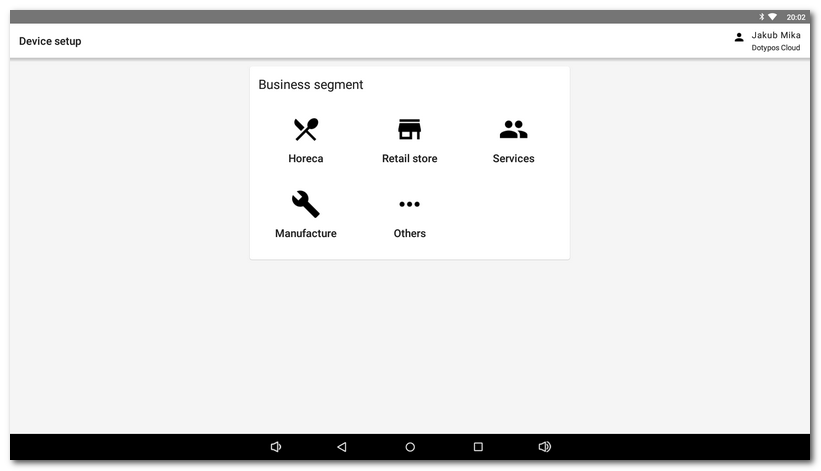
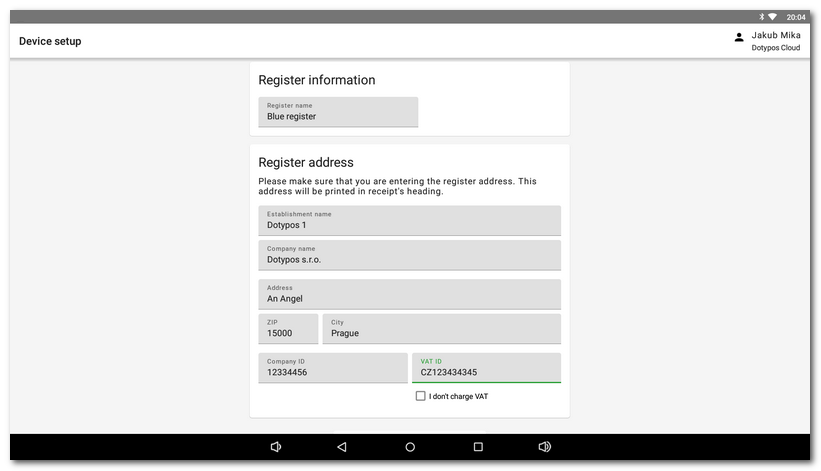
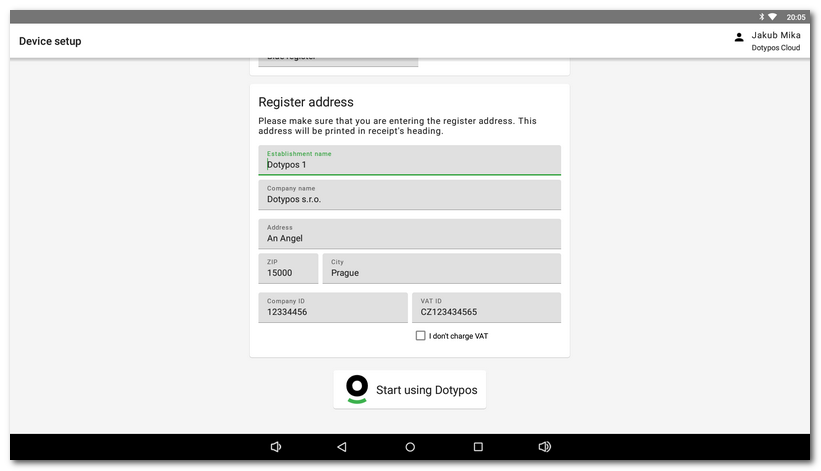
The next step is to modify the basic parameters of the cash register such as the environment, name and address of the establishment. The filled in address of the establishment is automatically set as the header for printing receipts. You can change them later in Dotypos Cloud in Cloud Settings. After you set your preferred options, complete the initial setup by tapping the Start Using the Dotypos button. |

|
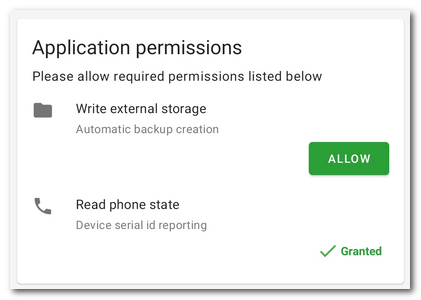
Finally, after completing the activation wizard, enable all required permissions to allow Dotypos to function properly. Now you can start using Dotypos fully. When the activation wizard is complete, the main screen will appear. |
|
Remember to correctly set whether you are a VAT payer or not. This option has an impact on how product prices are calculated in the cash register. |