 The barcode scanner connects to the touch cash register via a standard USB port. No special settings are required once the reader is connected to the cash register. The Android operating system just displays a dialog to select the keyboard layout after connecting the reader. This is because the reader is detected by the system as a standard keyboard. This dialog can be overridden by setting the keyboard layout once.
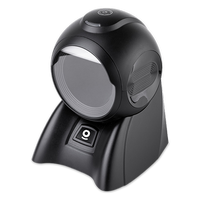
The Dotypos supports the connection of standard (manual) barcode readers and also omnidirectional readers, where it is not necessary to point the beam precisely at the barcode. The button on the top of the omnidirectional readers switches between scanning 1D and 2D codes, i.e. barcode or QR code.
In principle, any barcode reader that emulates a keyboard should work with the Dotypos. That is, Android detects it as a new keyboard when connected and displays a dialog for keyboard selection. The English keyboard layout should always be selected, otherwise the reader will not work properly, see the procedure below.
User manual for the Dotypos omnidirectional reader (In Czech language only)
Complete manual for omnidirectional reader Touch with configuration codes
The cash register DOTPO0501 (Sunmi V2) with an integrated printer allows bar codes to be loaded directly using a built-in camera, more information can be found in this chapter.
For reading bar codes, Dotypos uses the library ZXing and supports the following:
1D product |
1D industrial |
2D |
UPC-A |
Code 39 |
QR Code |
UPC-E |
Code 93 |
Data Matrix |
EAN-8 |
Code 128 |
Aztec (beta) |
EAN-13 |
Codabar |
PDF 417 (beta) |
UPC/EAN Extension 2/5 |
ITF |
MaxiCode |
|
|
RSS-14 |
|
|
RSS-Expanded |
|
You can read about how the bar code reader simplifies operations with the cash register in the chapter How can we use the reader in Dotypos?. |
Connecting the reader to the touch cash register

|
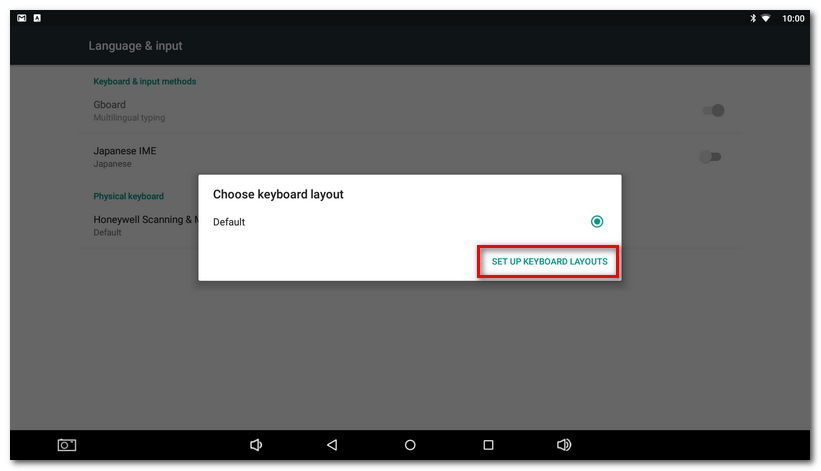
You can modify the keyboard layout anytime later by opening the Android system settings, where you select the item Language & input, enter the reader name and click on it in the section Physical keyboard (Honeywell Scanning and Mobility...). See the picture in the next step. |
|
Now click on the option SET UP KEYBOARD LAYOUTS. |
|
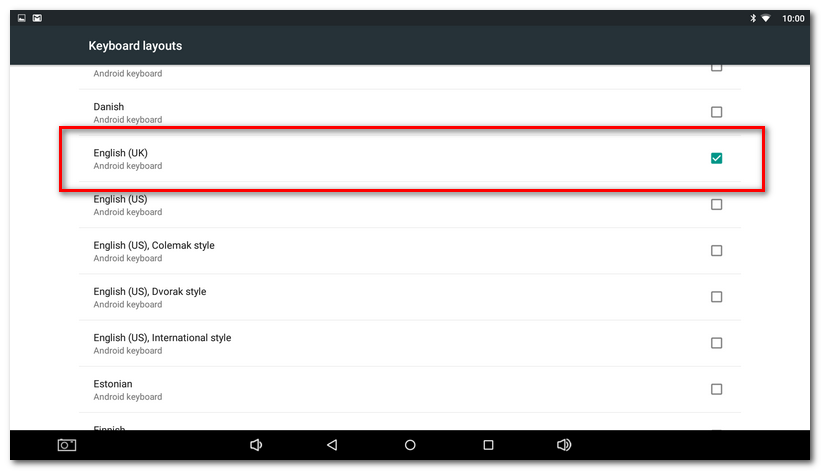
From the layout list select English (United Kingdom). Since the reader acts as a normal keyboard, you have to set the English layout. If the Czech layout is set, Czech characters with diacritics will be inserted after scanning the bar code. Therefore, any search for products will not work. The Android system will remember the chosen layout and the next time you connect the reader the notification about keyboard layout will no longer be displayed. |