|
The correct setting of the payment terminal and controls must always be done by a technician of the terminal supplier. Therefore we do not recommend adjusting the driver settings. Improper settings may cause a communication breakdown between the cash register and the payment terminal. So, changing the settings may mean having to pay for another visit by the technician. The procedure described below is meant only for advanced users! |
Connecting a terminal to touch cash register
Installing a payment terminal driver
Setting a payment terminal driver
Step 1: Connecting a terminal to a cash register
The payment terminal is connected to the touch cash register indirectly through the customer’s computer network. The terminal supplier is responsible for connecting the terminal to the network, setting the terminal up correctly and assigning the static IP address. The supplier sets the fixed (static) IP address in the payment terminal during installation and enters this address to the protocol for connection to the cash register system (Protocol for connecting to the cash register operating system - POS). This IP address is important for proper communication with the touch cash register.
|
We recommend that you reserve the IP address for the payment terminal with the DHCP server in the network router. In this way, the terminal always obtains the same IP address, which is necessary for the proper communication with the cash register. Another possibility is to provide the terminal with an IP address out of the DHCP server range. |
Step 2: Installing a payment terminal driver
Dotypos provides its own payment terminal driver, used for communication between the cash register and the terminal. Once the payment terminal is installed, it is necessary to set up the cash register system (payment terminal driver) and feed it with the static IP address set by the supplier in the payment terminal. Both the installation and setting are very easy.
|
Download and install the Payment terminal driver from the Dotypos Marketplace app or Google Play. This process is described in the chapter Installing applications. |
|
Select the Payment terminal driver (Ovladač plat. terminálu) and install it using the button INSTALL. |

Step 3:Setting a payment terminal driver
|
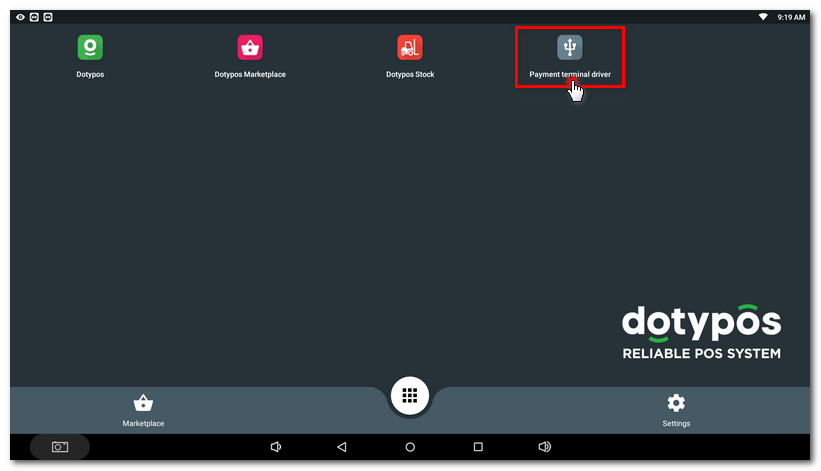
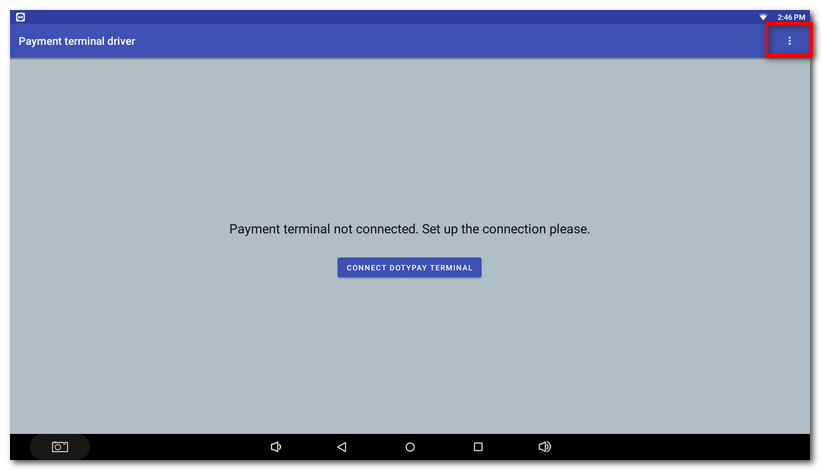
The icon of the Payment terminal driver will be available on the touch cash register desktop after the installation. Click on it so you can perform the settings. |
|
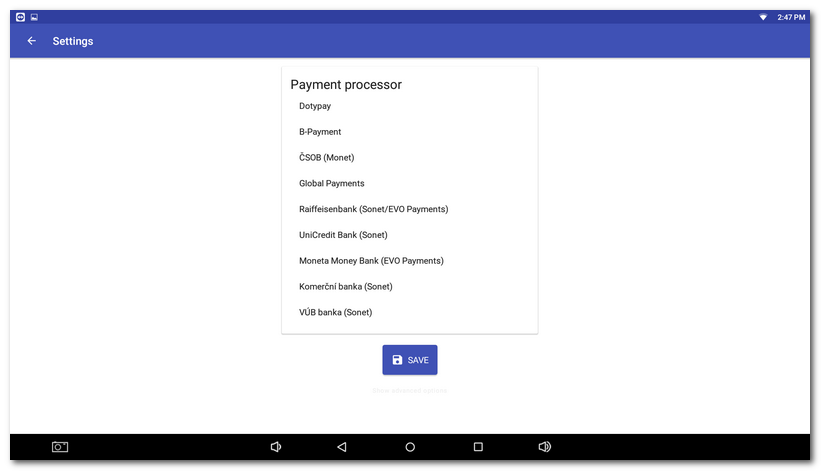
The list of payment providers will be displayed. Select the desired bank / provider. |
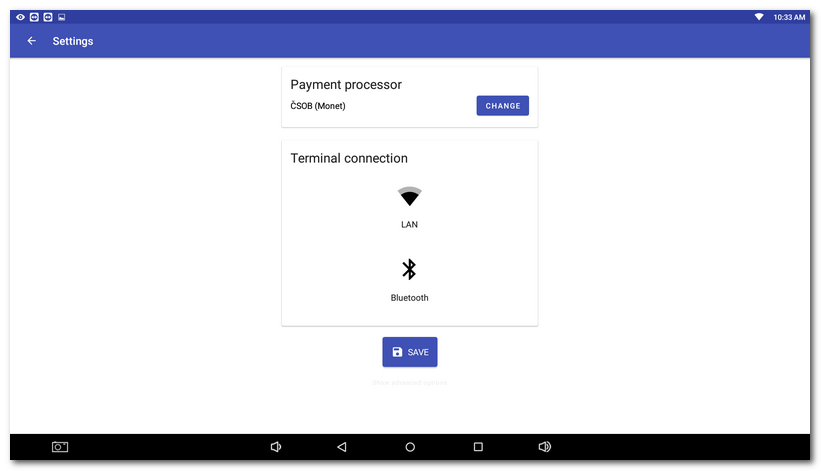
Now continue with the next chapter according to your payment terminal type:
•LAN - I use a payment terminal connected to the network by TCP/IP protocol
•Bluetooth - I use a Bluetooth payment terminal