In this part you configure the printers settings. Configure your printer (printers) and try test printing prior to first using the touch cash register.
The printers settings in Dotypos consists of two steps and you can do it using a simple wizard. Once you add a printer, Dotypos tries to automatically select the most suitable settings for this printer. Then you add printing tasks to the printer and select what is to be printed on it.
1.Add the printer according to the connection type and adjust its settings as necessary.
2.Add printing tasks to the printer and adjust their settings.
3.Finished, the printer is now set up!
|
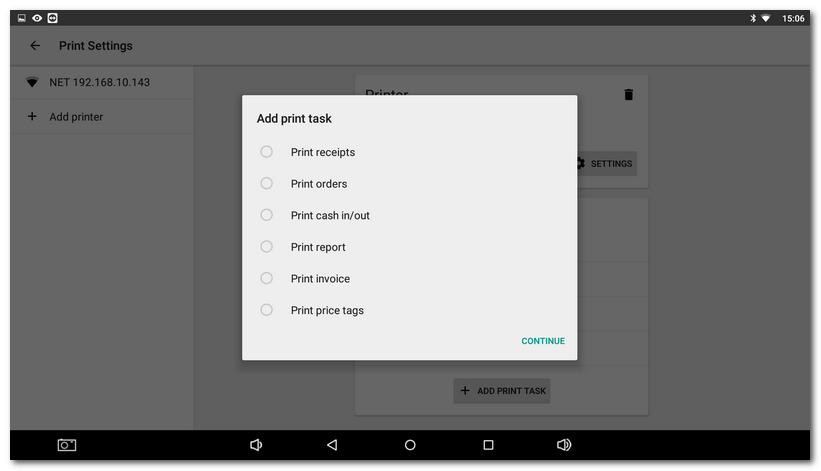
You can add several printing tasks to one printer. E.g. if one cash register with a connected printer is used by several independent sellers. So the printer will have several printing tasks defined, e.g. printing receipts and orders for individual sellers. |
How do I add a new printer?
|
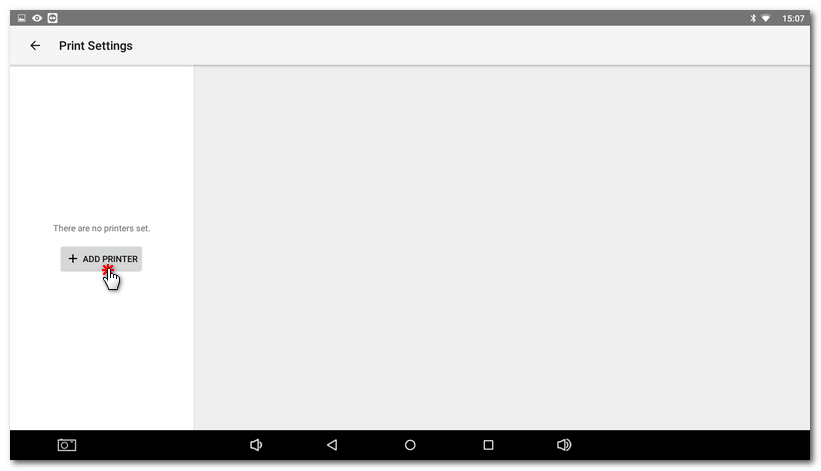
From the side menu of Dotypos, select Application settings and then Print Settings. The print settings wizard opens. Now click on + ADD PRINTER. |
|
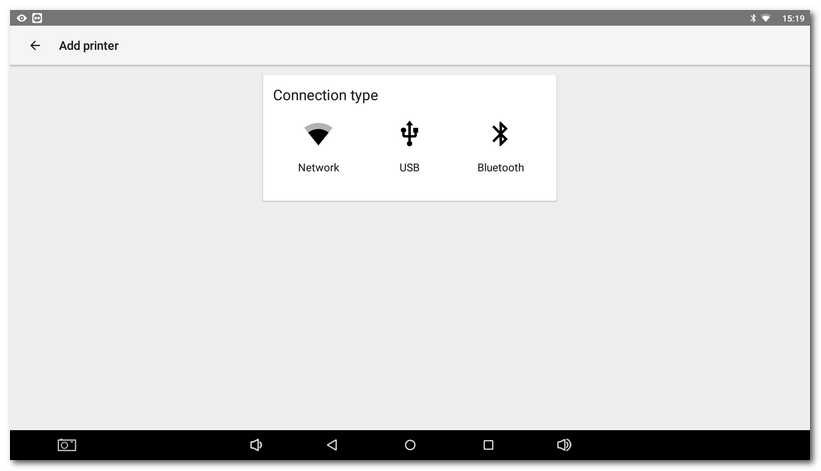
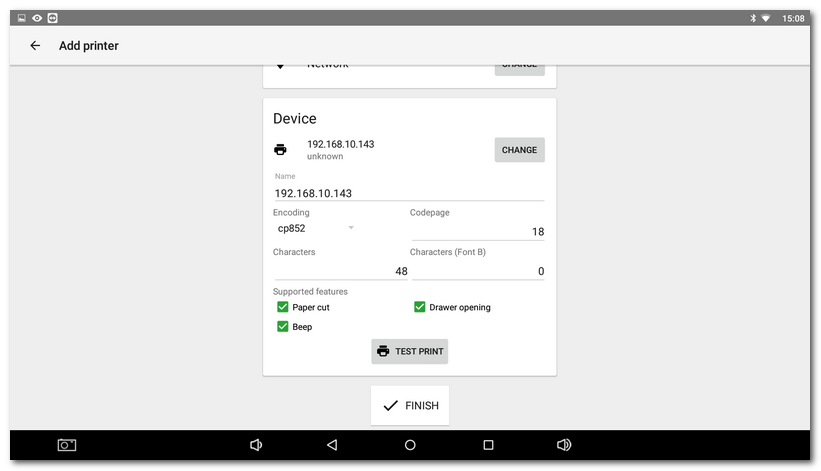
Select the printer connection type: •For a printer connected via a network cable or wirelessly via Wi-Fi connection, click on Network (Wi-Fi). The cash register finds network printers in your network. Click on the printer you have found to adjust its settings and print a test page. You can also find the network printer by entering its IP address: •If your printer is connected via USB cable directly to the cash register, select USB. The cash register shows devices connected to USB ports. Click on the selected printer to adjust its settings and perform test printing. •If your cash register is already paired with a Bluetooth printer and you want to set it up for Dotypos, select Bluetooth. The cash register displays paired devices. Click on the selected printer to adjust its settings and perform test printing. If the printer performs the test printing correctly, click on the button FINISH. The printer will be added to Dotypos. |
|
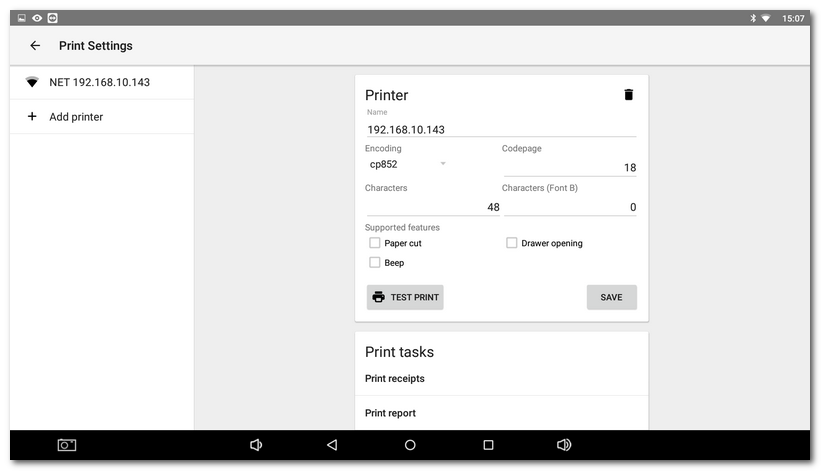
Every printing task has different settings. Once you add the task to the printer and click on it, you can adjust these settings. For printing tasks settings, take a look at this chapter. |
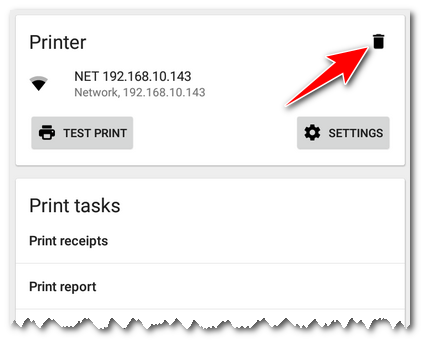
How do I delete a printer or printing task?
To delete a printer click on it in the left panel and then click on the recycle bin icon in the heading. For printing tasks use the same sequence. Under the printer click on the task to be deleted and remove it by click on the recycle bin icon in its heading.