The Original Reports tab allows you to generate various types of older data reports. You can generate these reports for a selected time period for all or only a specific cash register. You can limit each report to a selected shift (time from opening to closing of the cash register) and limit the displayed data to this shift only. Simply go to the Shifts sales report, select the shift and then use the designated button to go to the reports. The report you then select will automatically have the time period set to the selected shift.
|
We recommend using the new reports described in this chapter to work with cash register data. These original reports are not modified or developed any further. |
How do I generate a report?
|
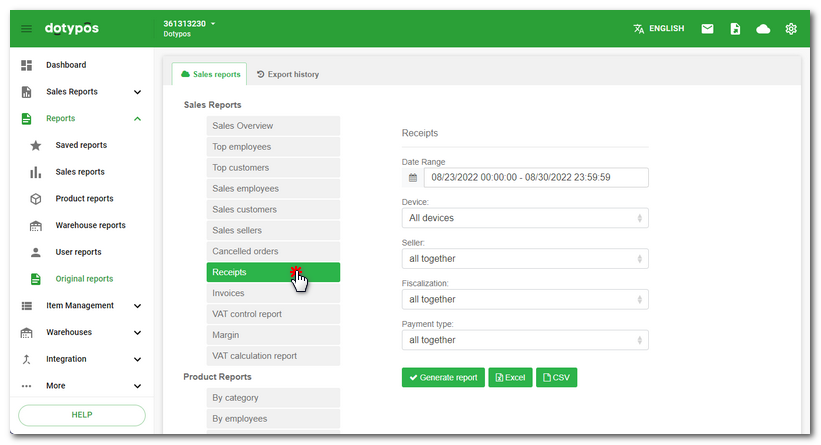
Click on Reports and then choose from the overview menu in the right part of the page. Click on the selected report. |
|
Click on the field Finally, |
 and select
  to selected cash registers and selected tags. If you leave the default option all together, the report will cover all cash registers and documents.
 choose whether you want to display the report (button
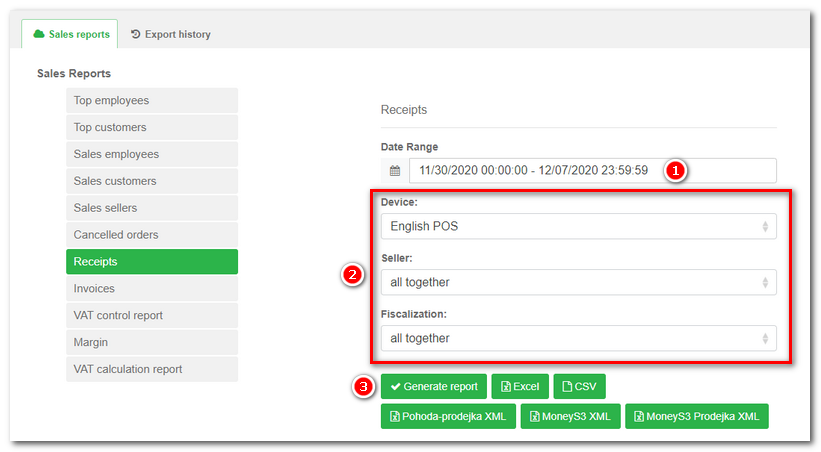
|
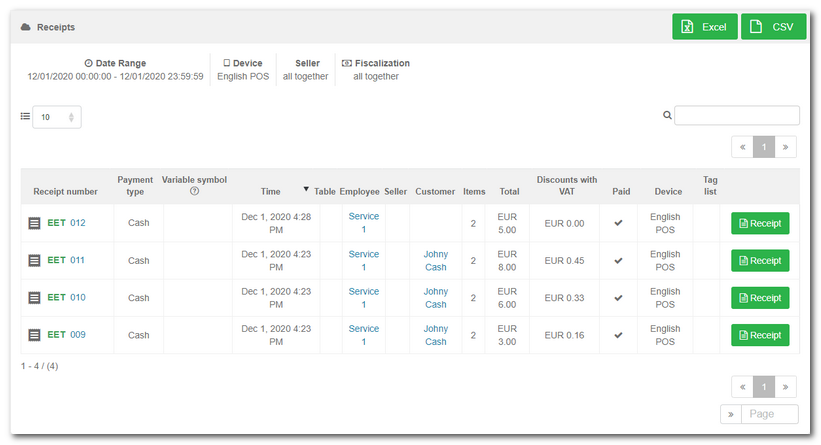
Once you have generated the report, it will be displayed in the browser. The picture below shows the generated report Receipts. This report lets you click on a document number, employee name or customer name to see his or her details. You can see the details of each document after clicking on the button Receipt. Each generated report can be exported using buttons in the heading into Excel or .csv format. |