|
•This procedure shows how to set up static IP addresses that are necessary for smooth communication between the cash register and the third-party payment terminal or other devices in the network (other cash register, Customer display). •This chapter is designed for service technicians installing payment terminals or advanced users with experience in configuring active network components. However, the terminal setup is always done by a technician of the company providing services for the bank with access to the terminal. •For seamless communication between the cash register and wireless peripherals, it is advisable to meet the following network requirements. |
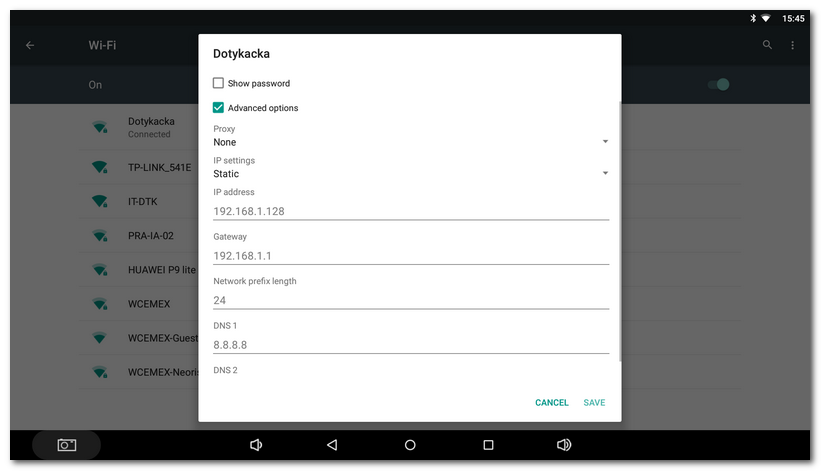
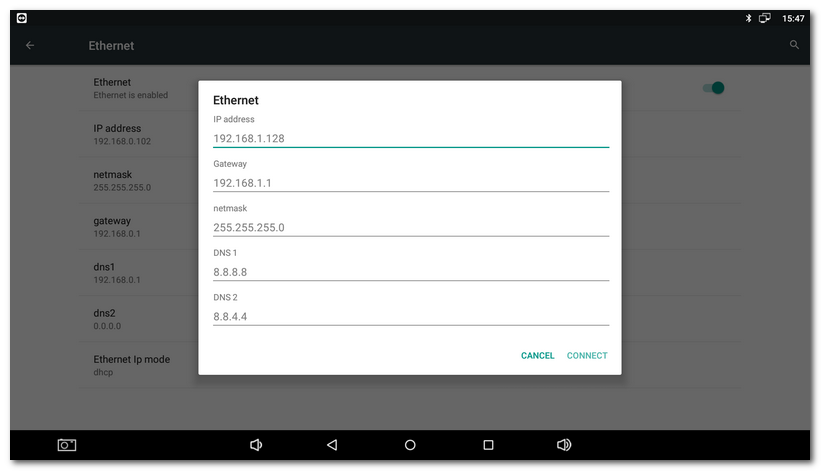
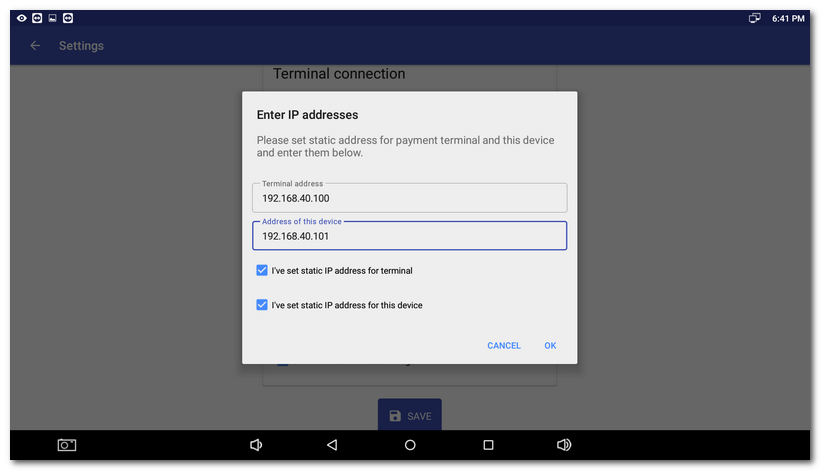
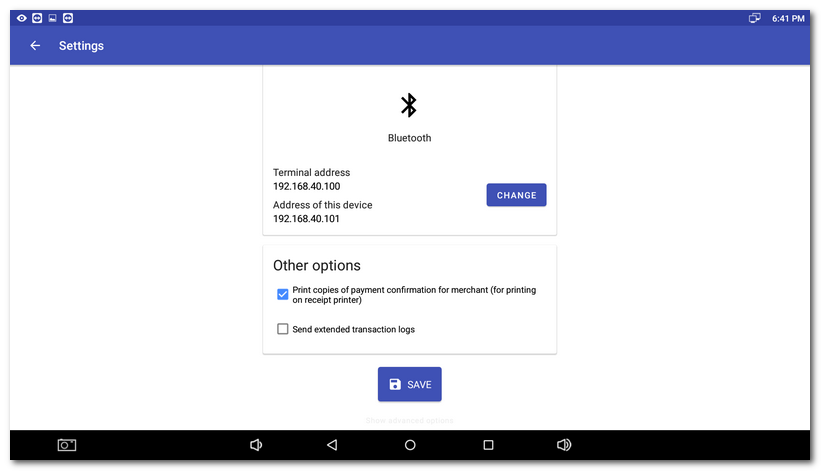
For proper intercommunication between devices, you have to make sure both the terminal and cash register have static IP addresses assigned. If the IP address of one of these devices has changed (e.g. after shutdown or restart), the communication will be lost.
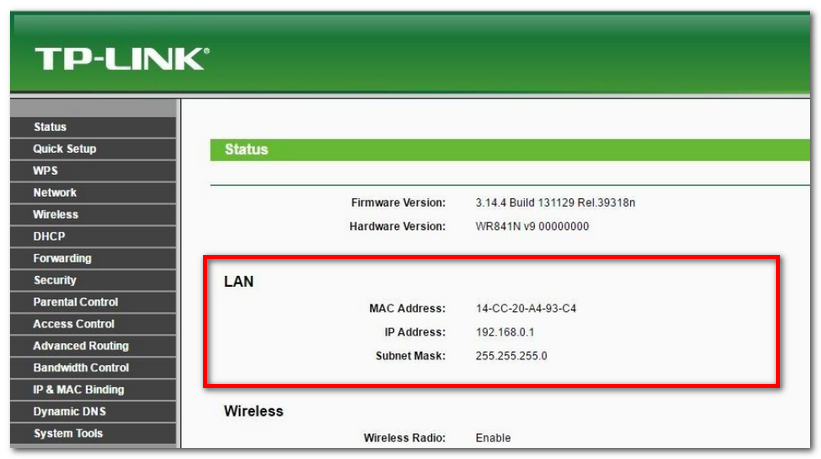
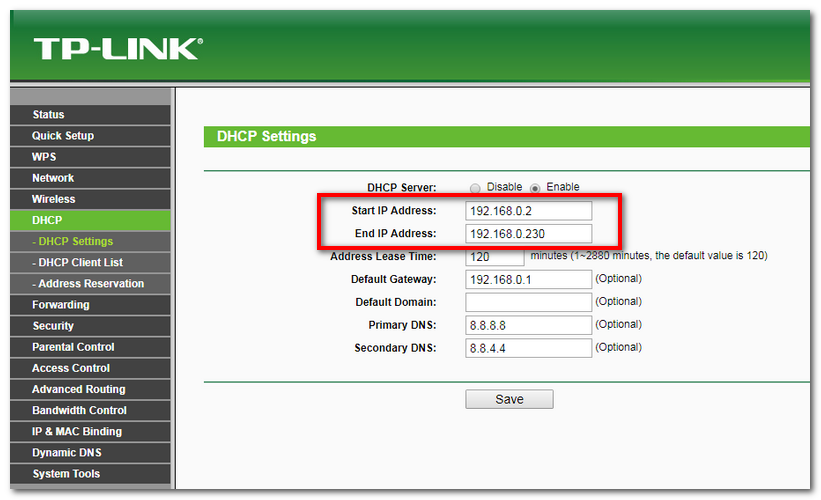
By default the addresses are assigned to network devices by the DHCP server running on the network component (router) in the establishment. Therefore, you have to connect to this router and adjust the DHCP server settings properly to assign IP addresses only from part of the set network range. So you get free IP addresses for both the cash register and payment terminal out of the range of the DHCP server. You also need to know the LAN network information (router IP address and network mask).
To configure the terminal and cash register properly, you need to know the access data to set/configure the router (router IP address, credentials for web administration). You should be provided this information by the establishment owner or manager that is in charge of the network coverage in the given establishment.
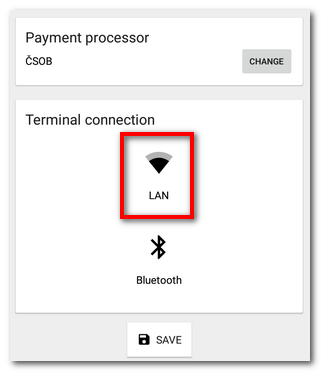
Connecting a device to the local network (LAN)
•The terminal is connected to the local network using a LAN cable or wireless using Wi-Fi.
•The cash register must be connected to the same network either using a LAN cable or using a Wi-Fi connection.

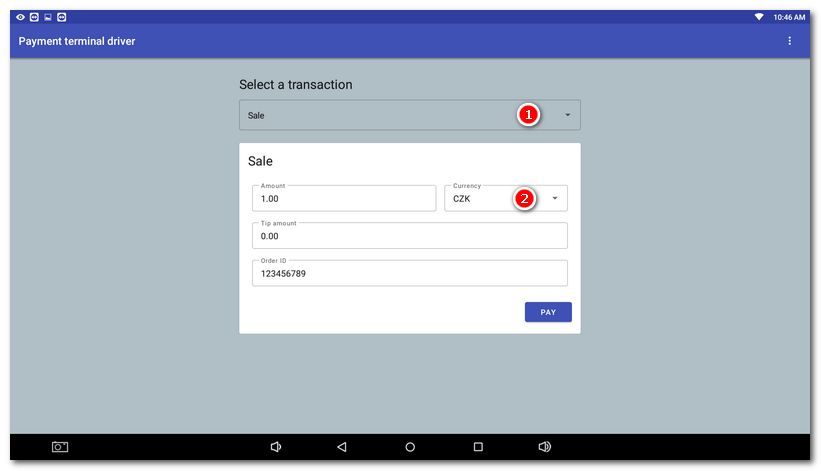
 and the currency
  . However, this setting is not important for this test. Cancel the payment - the result will also appear in the driver application.