» Available only in Dotypos FULL and higher. « |
|---|
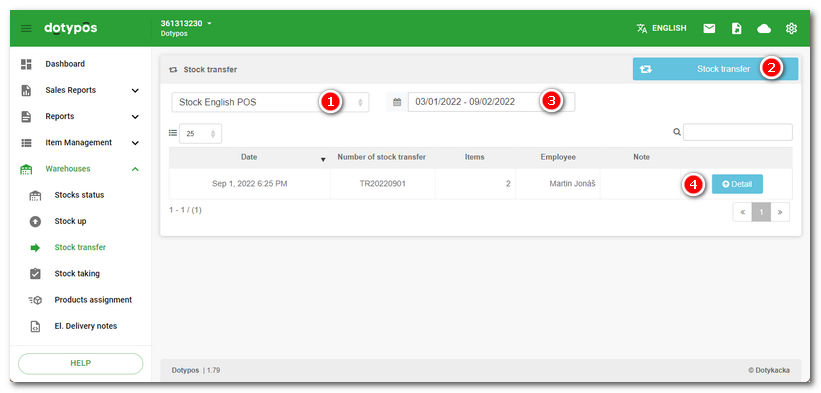
In the item Warehouses » Stock transfer you will find an overview of stock transfers, by default sorted according by date. Click in the pop-up menu  to choose the warehouse from which you want to transfer and to display only the transfers already performed from this particular warehouse. Products can then be transferred with the button
  . Select an interval in the field
  to limit the overview to the selected time interval only. Use the button
  to view details of previous stock transfers. In the detail of stock transfer, you can export the displayed transfers to an Excel table or .csv or .pdf file.
How do I transfer products to another warehouse?
|
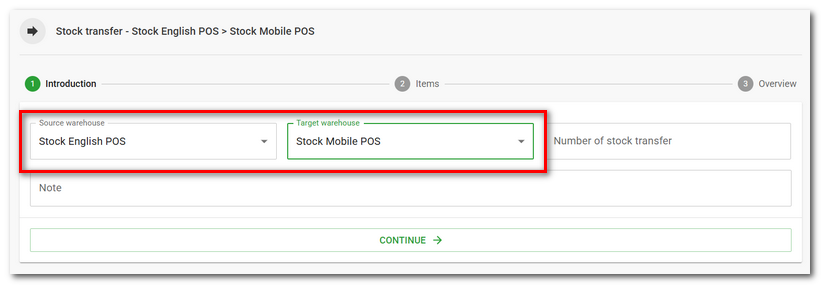
In the item Warehouses » Stock transfer click on the button Stock transfer and select the source and destination warehouse for the move. If you selected a warehouse in the overview on the previous page, it will already be set as the source warehouse here. The stock transfer number (TR+year+month+day) will be generated automatically, but you can overwrite it. If you make multiple stock moves within a day, the stock move number will make it easier to find your way around. Next, tap the CONTINUE button to move to the next step. |

|
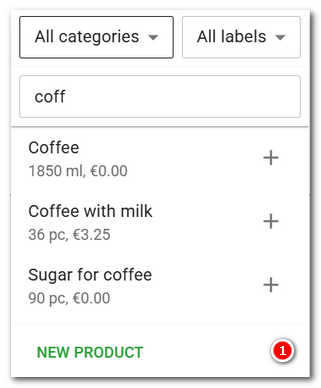
Click on the Select product menu The displayed and searched products can be limited to the selected category or tag in the dialog header. You can also search by EAN and PLU codes and External identifiers, or you can simply create a new product. The dialog remembers the last entry and the selected category or tag. After adding the products, add the quantity to transfer. Use the TAB key to move between fields/products. Then tap the CONTINUE button to move to the next step. |

 . If more than one product is found based on the scanned code, the notification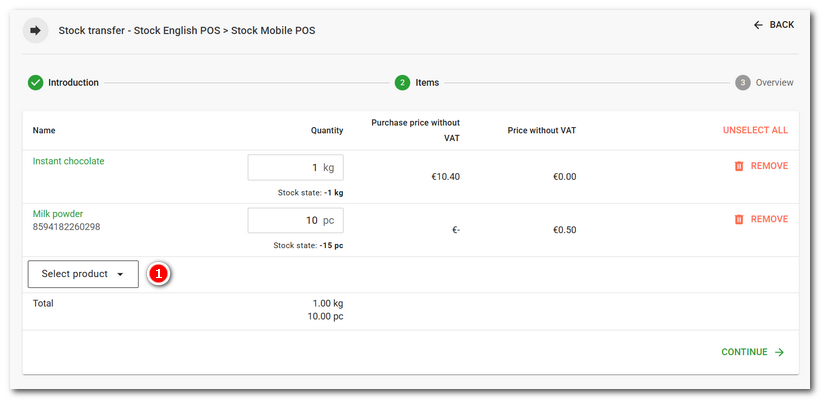
|
You can also use the keyboard for quick product addition. Type the first few characters, use the arrow keys to select from the suggested products, and press the ENTER key to add the product to the list and enter the quantity. By pressing the ENTER key again, you will return to the product addition dialog and can continue adding more products. |

|
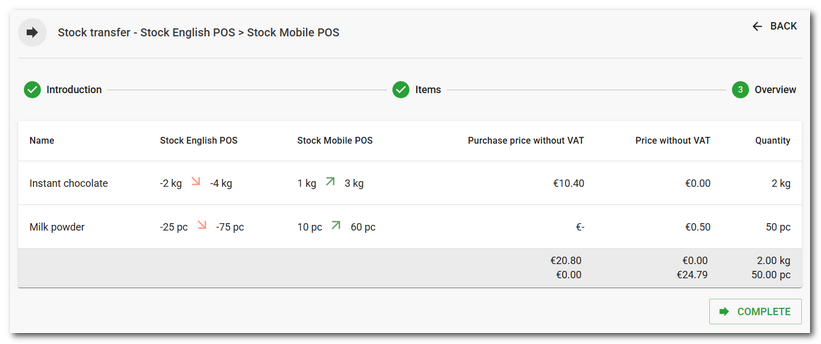
A recap of the products being moved and their original/new stock levels in the selected warehouses will be displayed. Complete the transfer by clicking COMPLETE. |

|
More warehouse transfers into one target warehouse and with the same warehouse transfer number are always merged into one overview. You can also perform the transfer directly on the page with the products overview. You can find the sequence in this chapter. |