» Available only in Dotypos UNLIMITED. « |
|---|
On the Ordering systems tab in Dotypos Cloud you will find currently supported integrations with online ordering systems and delivery services. The level of integration of each service depends on the capabilities of the service. Therefore, the possibilities of cooperation with the cash register may be different for each service depending on what all the service offers to customers and whether it is possible to connect all these functions with the cash register system. Therefore, the configuration options for each service may also be different. Foodora, Bolt Food, Wolt. On Wolt's side, Wolt Retail is not supported.
First, it is necessary to create categories (sections) in the general integration and place already created products from the cash register into them. The categories in the ordering systems are therefore completely independent and not related to the created categories in the cash register. You can then place the products you have already created in the cash register into these categories. The products are the same for the ordering systems and the cash register.
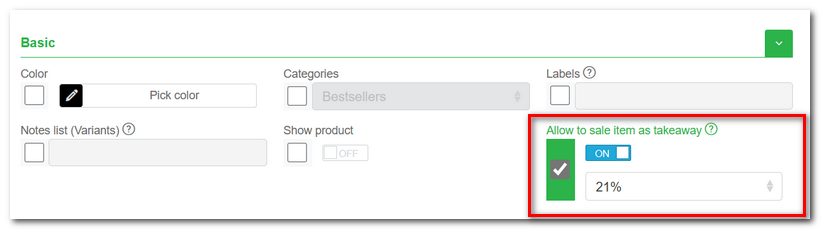
If you need to have takeaway information on printed orders for the kitchen (for example, for preparation with packaging), activate Takeaway for the products (see collapsed procedure below). Then check the Print Takeaway in the Print orders print job. You can then process orders directly in the cash register.
|
The created menu with categories and products is common for all ordering services. It is not possible to have a different offer for e.g. Wolt and a different one for Foodora. All ordering services support Customizations. |
|
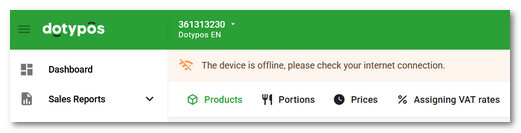
If the warning message The device is offline, please check your internet connection is displayed in the page header, keep the current page open in the browser, do not close the browser and do not perform any other operations until you have resolved the cause of the outage and the warning disappears. Otherwise, you may lose your work in progress.
|
 Takeaway Sales Settings
How to connect the cash register with the ordering system?
If you have not used any of the ordering services and would like to, please contact us. Upon request, we will contact you to activate the orders. We will then be able to post the offer and it will appear on your business page in that service. As a first step, always prepare your menu in advance in the General Integration section following the procedure below. This way, at the moment of activation, you will already have everything ready and your customers can start placing orders straight away. Since we work with the service provider to connect the service, activation usually takes 3 - 7 working days.
After activation, the page with the created menu will always be displayed directly on the Order Systems tab.
|
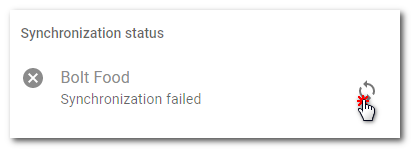
Important information: •If you are already using Bolt and have a menu created directly in Bolt, activating orders will delete the menu in Bolt and replace it with the menu in Dotypos. It is therefore necessary to have a menu already created in Dotypos and only then ask Bolt to activate orders. If you are unable to synchronize, see the end of this chapter. •In the case of Wolt, it is necessary to first create the menu including product images, enter opening hours, log out from the Wolt Merchant application, and only then enable order synchronization. Wolt does not allow receiving orders without uploaded product images! •With Foodora, you need to specify the operating hours of your establishment directly in the Foodora app. The operating hours set in Dotypos Cloud are not supported. Similarly, the time availability of individual menu items (products) is not supported. Also check that you don't have the same products in multiple sections. If you do, menu synchronization will not work. •Foodora by default sets automatic order acceptance for new customers after 2 minutes. If you are already using Foodora and have a shorter order acceptance interval set, please contact your Foodora account manager to increase the interval. •Once you enable order reception, log out from the original application of the respective ordering service. Otherwise, the order syncing will not work correctly! Any further changes to the menu should only be made in Dotypos cloud, not in the respective service. •If you wish to cancel active integration completely, please contact us. |
|
Login to the Dotypos Cloud web interface. In the left tab bar, select Integration and then Ordering Systems |
 . Select which cash register
 under
under 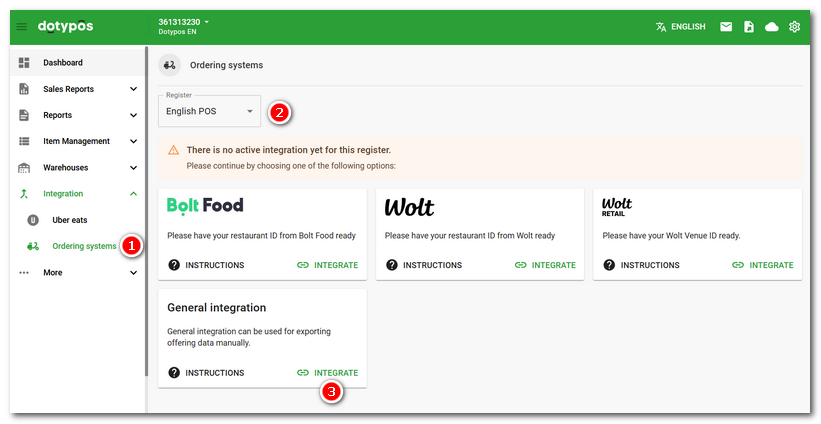
|
Click ADD SECTION Use the EDIT |
 in the section name field to specify a section name in multiple languages. However, this option is only supported on Bolt for now.
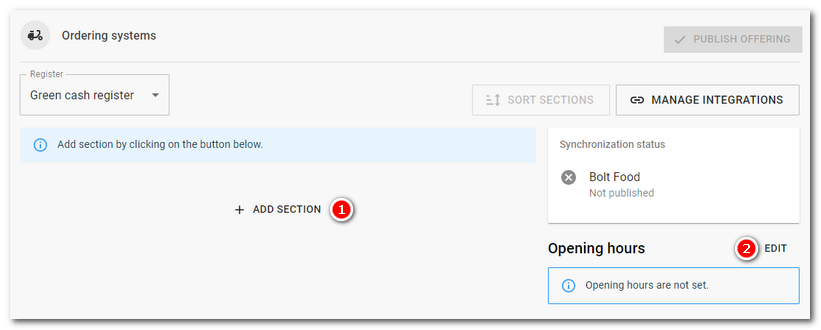
|
The beginning of the day is always midnight, i.e. 00:00. If you are open past midnight, e.g. 15:00 to 01:00, set two intervals - 15:00 to 23:59 and 00:00 to 01:00. So you set 15:00 to 23:59 on Saturday and 00:00 to 01:00 on Sunday. |
|
Once you add the first section, you can add items, i.e. separate products, all products from selected categories, edit it or delete it. You can do all this using the buttons |
|
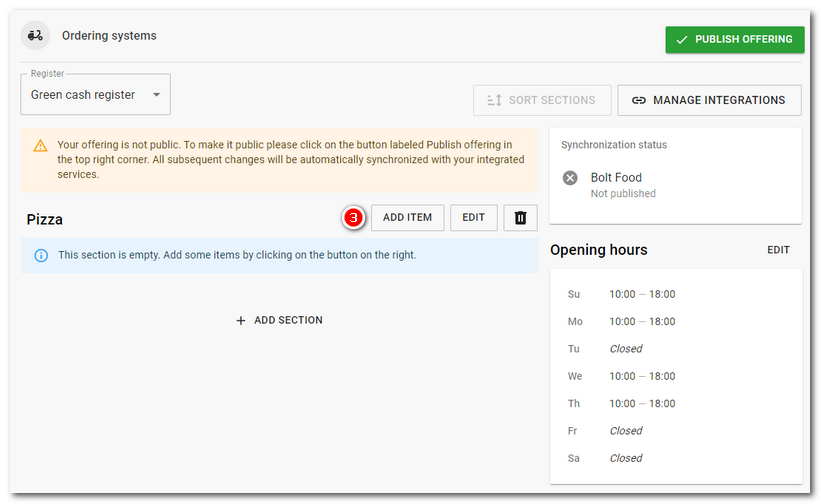
Each section created must contain at least one item. Otherwise, synchronization with the ordering service will not work! |
|
To add a product, tap the ADD ITEM button. A simple dialog will be displayed with all products, a search field If you need to add all products from the categories in the Dotypos, use the ADD CATEGORY button and select/tick the categories. All products from the selected categories will be added to the menu. In the case of Foodora, it is not possible to have the same product in several sections. So check that you don't have the same products in multiple sections. If you do, menu synchronization for Foodora will not work. The synchronization of the menu with Foodora also depends on the opening hours of the establishment. Outside opening hours the synchronization will not work. |
 and filters for
  button. The dialog will remain open, allowing you to add more products in this way.
|
To change the order of products in a section, hold down the icon 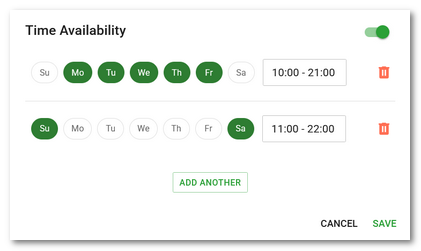 Click on the icon
After adding and setting up all products, contact us with a request to activate orders and information that your menu is ready. By tapping the MANAGE INTEGRATIONS |
 and drag. For each product you will find a panel of icons
  that allows you to temporarily hide the product
  , set it as sold out
  , adjust the availability time for orders
 . You can set the time availability for all products in the offer using the button
  . However, priority is given to the time availability set directly on the product under the icon
  to see its image, the first price on the line indicates the amount inserted for the packaging. You set both of these items in the
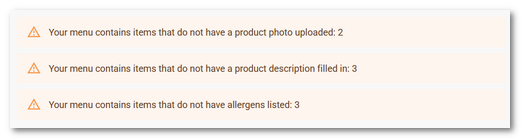
 button, you will return to the service overview, where you can cancel the connection or set it up for another service.
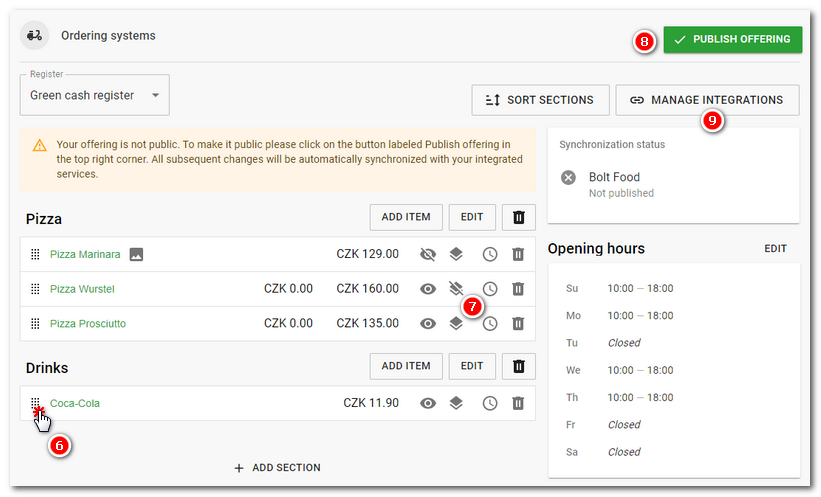
|
•Additional product features applicable to ordering systems can be found in the product list if you open the product detail. •If you delete a product in the cash register that is part of the menu for ordering services, it will be marked in red here. |
|
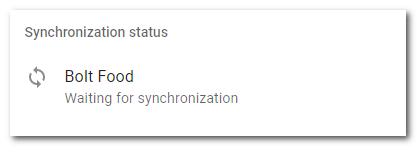
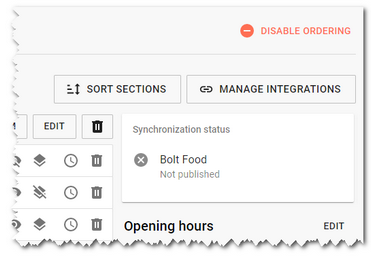
Once you have the integration active, the created menu will be overwritten by the activated ordering services (see the first step). In the header of the created menu, you will find the ENABLE / DISABLE ORDERING button. You can easily enable or disable the ordering option for your customers. Now you can move to the cash register and manage orders there. You will see the status of the menu synchronization in each service in the right section. The availability of individual products for ordering can also be adjusted at the cash register in this setting. To edit the menu later, just always go to the Ordering systems tab in the Dotypos Cloud. The MANAGE INTEGRATIONS button will take you to the home screen with the individual ordering systems. Then return to the menu by selecting X CLOSE in the top right corner of this page. |

|
Once you have enabled order taking, log out from the original order service application. From now on, please make changes to the menu only in Dotypos cloud. |