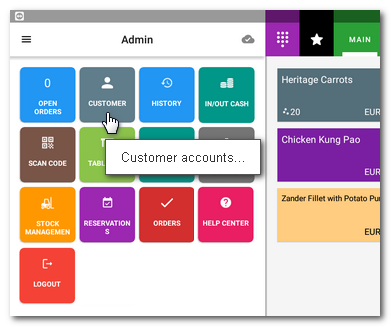
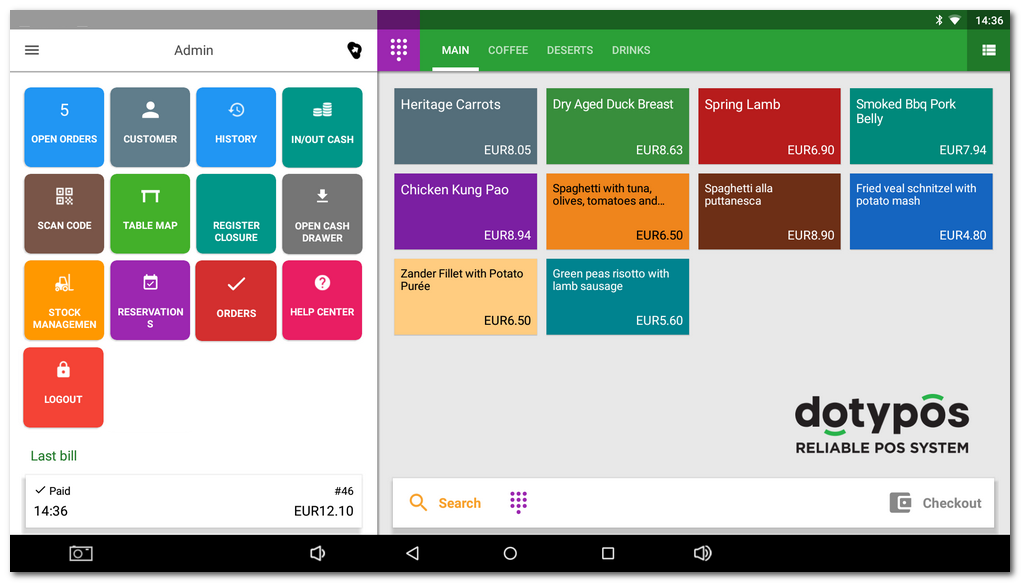
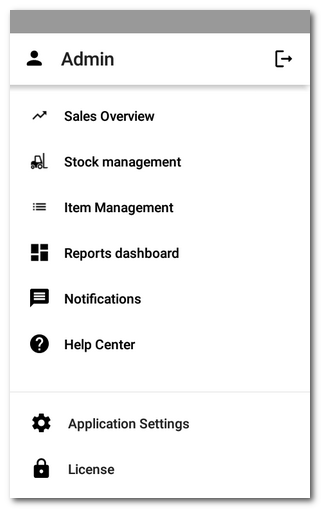
Below, you can find interactive maps for the Dotypos user interface - the main screen and side menu. If you place the mouse cursor above the picture, a description of individual items, buttons and icons appears. Move the mouse cursor above the desired item and you learn its function. Clicking on designated items lets you go to the related chapters.

Main screen
Hold the mouse cursor above the desired item. If there is a text with three dots in the information bubble, click to open the related chapter. The availability of all menu tiles on the left side depends on active items in the Application settings.
|
If you select in the activation wizard the establishment type Trade, the PLU keyboard for instant (fast) sale will be displayed by default instead of tiles with individual products. You can find more information about the Instant sale in this chapter. |
Side menu
Use the Side menu to enter the Dotypos advanced settings, sales overviews or reports. You will also find the option Item management, which is used to create products and their categories. Tap on the item License in the footer to open the dialog with detailed information about the license used.
Hold the mouse cursor above the desired item. If there is a text with three dots in the information bubble, click to open the related chapter.
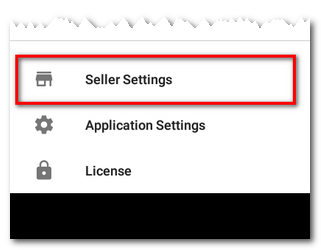
If there is currently an independent seller logged in at the cash desk, there is an item in the side menu to switch to the independent cash register settings for this seller:


